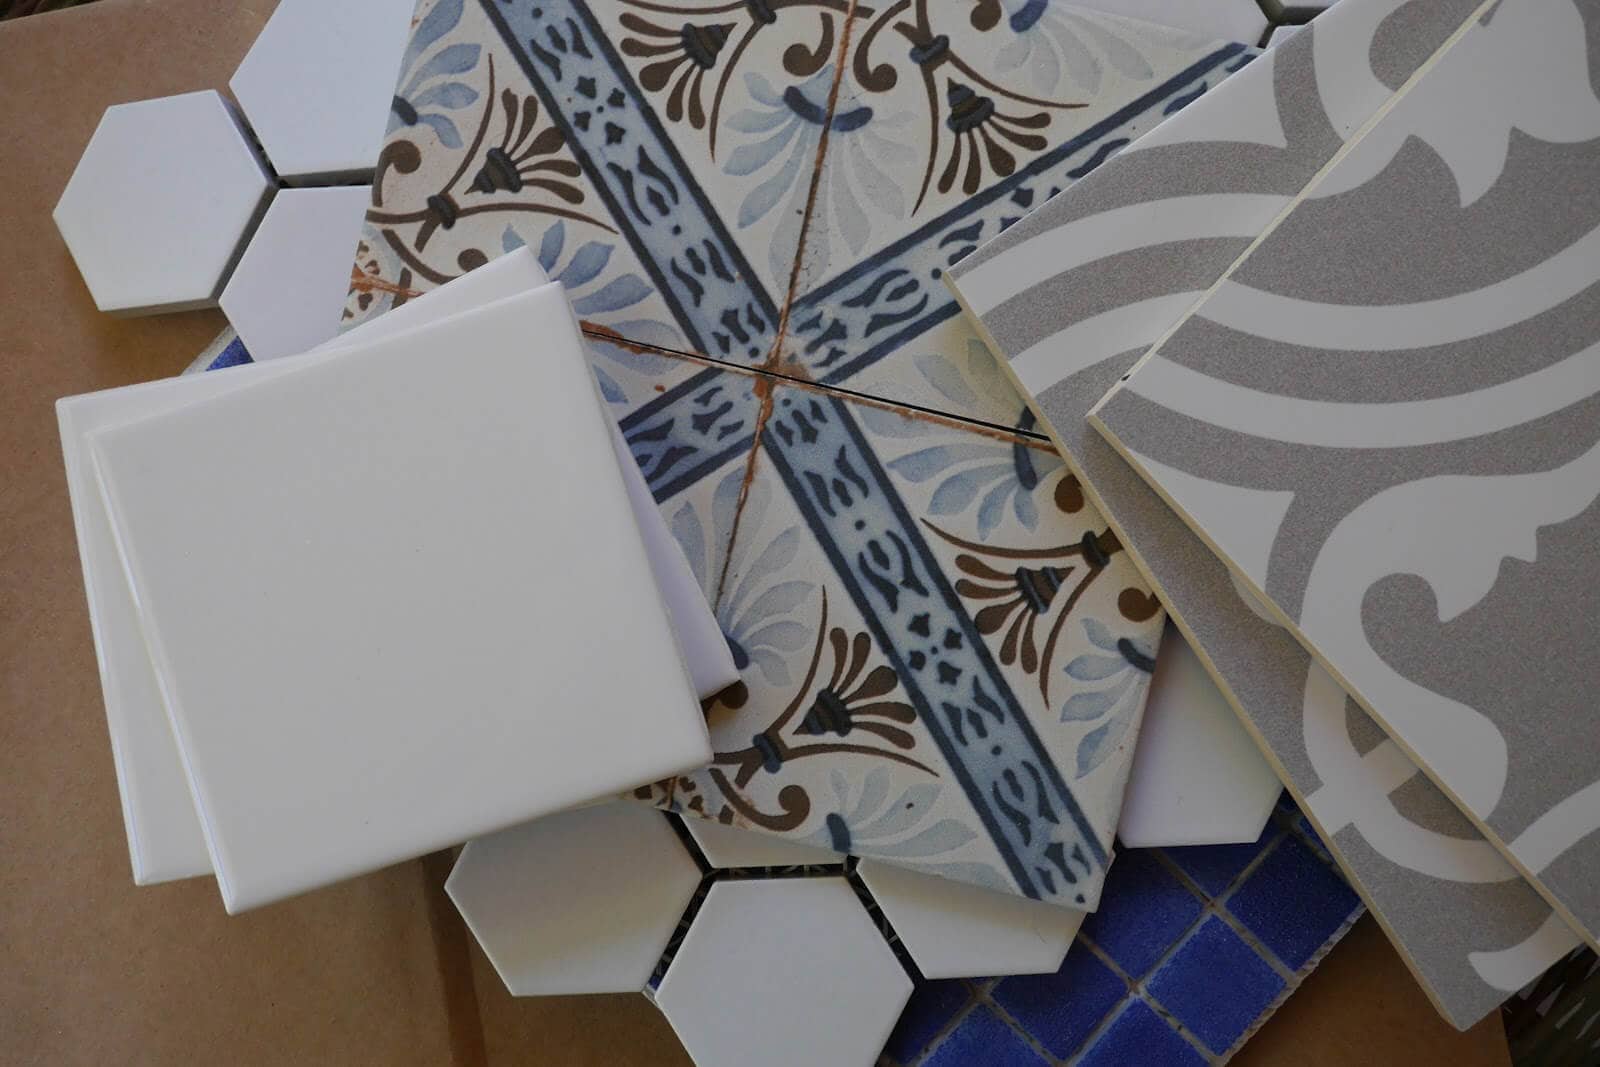
So, you suddenly have a handful of leftover ceramic tile on your hands from a recent home improvement project. What can you do with all this ceramic tile than pitch it immediately into the garbage? You will be surprised to hear how versatile ceramic tile crafts and art projects are. These top 10 leftover ceramic tile ideas are so clever that even if you have no leftover tile, you might just want to run out to buy some!
1. Dry Erase Magnet Tiles
Here’s a project that is easy and quick enough to make one for all your friends. Plain glossy white tile is the best choice, and the bigger, the better for more room to write. The only supplies you’ll need other than the tiles are:
- Glue
- Magnets
- Dry erase markers
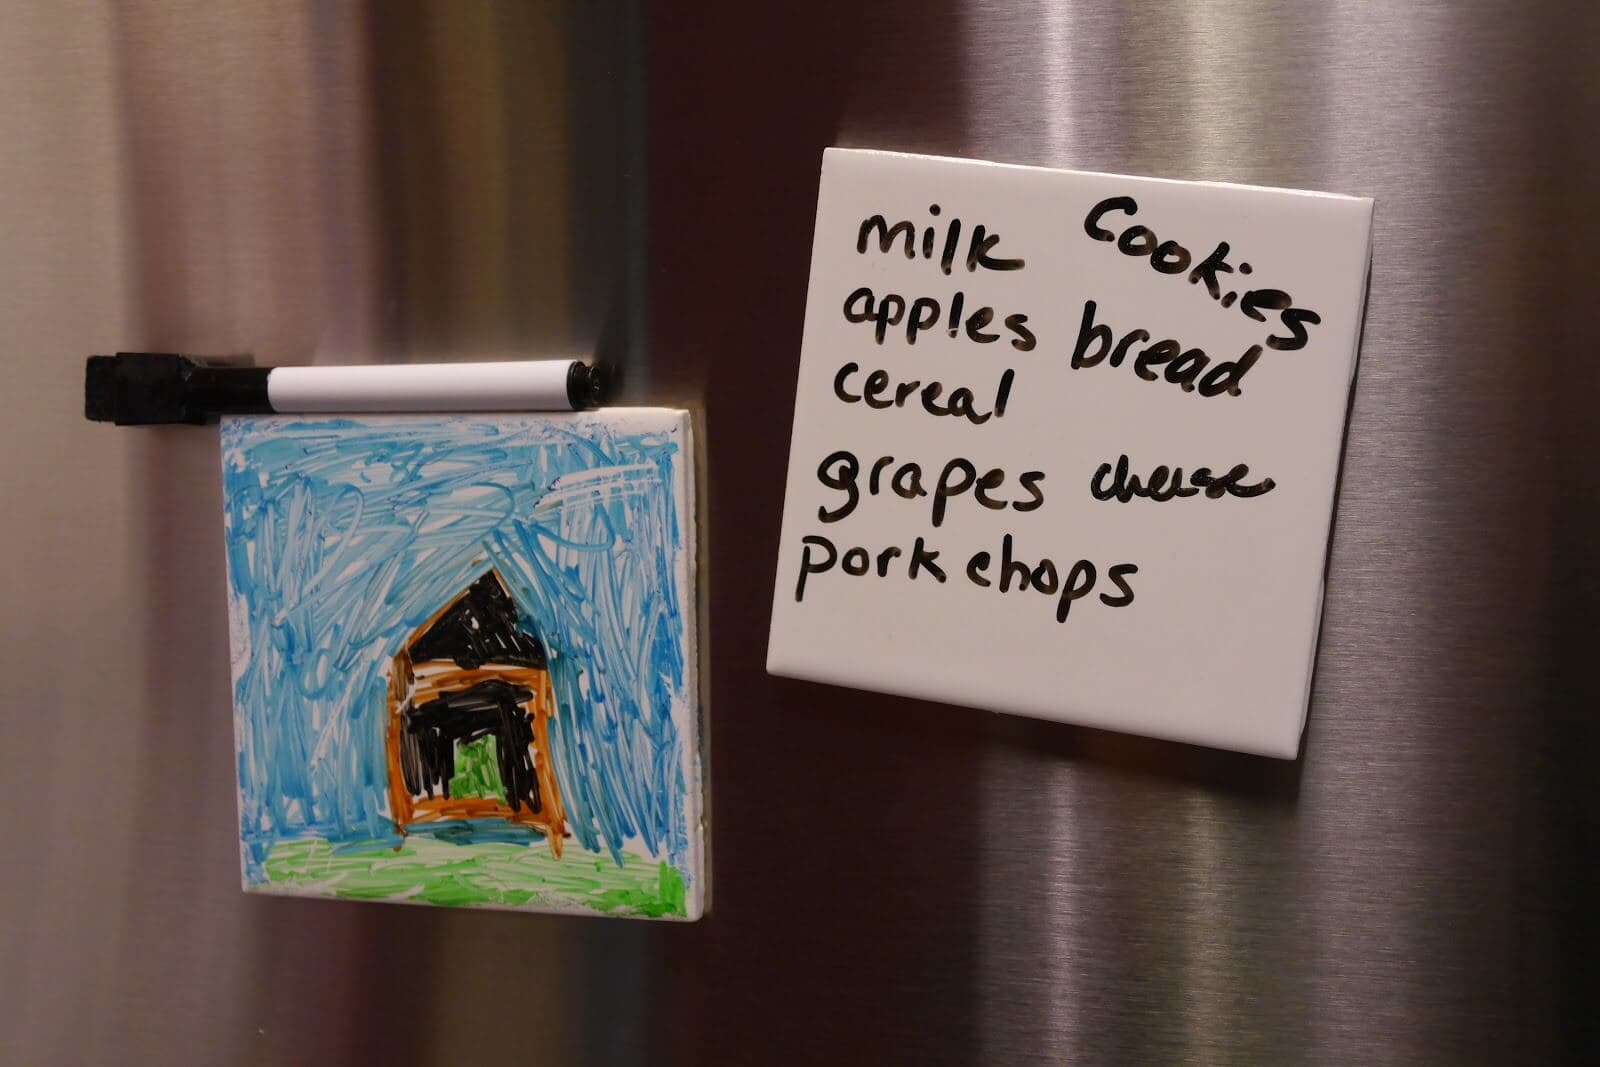
Glue one magnet to each of the four corners of the tile, and voilà: a miniature dry erase board. One important note is that if you’re using neodymium magnets, you should not use a hot glue gun, as the heat will demagnetize them. If you’re using ceramic magnets, working with a low-temperature hot glue gun is fine.
Beautifully simple! We love these for writing out grocery lists, or little hands can use them to create ever-changing works of art for the refrigerator.
2. Tiled Serving Tray
Creating a tiled serving tray is another super easy project that requires only a handful of tiles and it’s a perfect introduction to working with ceramic tile! You only need a wooden tray, tiles of your choice (we recommend something with a fun design), glue, and grout. If you don’t have a wooden tray already, swing by a local thrift store and you’re sure to find one. Ceramic tile’s resistance to water, heat, stain, and scratches also means that you can use your serving tray for all your meals without worrying about damaging your beautiful new serving piece.
3. Tile Table Runner
A table runner made of leftover ceramic tile is not only beautiful and unique, but it can also serve as a table-length trivet, protecting your table from water rings and hot serving ware. Ceramic tile is water-, heat-, scratch-, and stain-resistant, so you won’t need to worry about damaging your artwork, either.
You will need spray adhesive, a craft knife, and craft felt in a complementary color. Arrange the tiles in your desired pattern on top of a length of the felt. One by one, turn over each tile and spray it with adhesive. Return the tile to its place and press firmly. Continue this until you have glued all of the tiles to the felt. After the adhesive has completely dried, turn the runner over and trim any felt that extends beyond the tile edges.
Here is an example of a tile table runner that uses different shapes and sizes of tiles in earthy tones.
An optional tile serving idea is to simply use your tiles as trivets for your hot serving dishes. You can also use a large tile as a cheeseboard and arrange several tiles for a grazing table display. Have a little spill? Just put your individual ceramic tiles in the dishwasher for an easy cleanup!
4. Tile Coasters
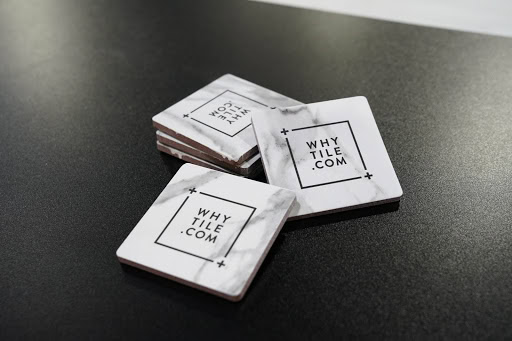
Use any shape and any number of tiles you have on hand for this project, just make sure your tile is large enough for your favorite beverage (3.75 to 4.25 inches wide is a standard coaster size). Apply felt to the back of the tile. Felt comes in self-adhesive shapes or sheets that you can cut with scissors. You can also use self-adhesive cork sheets and cut them to the size you need with a craft knife. Your protective backing should be approximately 0.25 inches smaller on all sides than the size of your tile.
To make the coasters, apply your choice of backing to the tile and press firmly. Tie a ribbon around a set of four and you’ve got a gift that will be well-used every day!
[Related: Easy Tile Coaster Crafts for DIYers]
5. Wall Art
This project is perhaps the easiest of all the projects we’re showcasing. A tile, a frame, and a little inspiration are all that’s required. Many tiles are beautiful all on their own and you can frame them as is for a decorative display. Ask at your local tile shop about open-stock inventory to find some unique tiles that you can buy individually. Or, a more basic tile can serve as a canvas for your imagination.
For a little added flair, you can decorate the tiles with permanent markers and enamel paint. A few notes before you begin decorating your tiles: be sure to clean the surface you plan to decorate with alcohol to remove any grease and oil left on the tiles from your hands. Also, ceramic tiles are stain-resistant, so you will need to add a glass and tile medium to acrylic paint. The medium helps the paint adhere to the nonporous ceramic glaze of the tiles.
For a beautiful example of tile art created with white ceramic tile and a permanent marker, see this project.
6. Elegant Planter Box
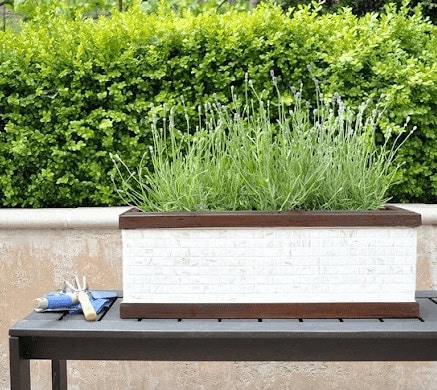
Mosaic tile (such as the small square tiles that come with a mesh grid backing) can cover a boring wood box and transform it into an elegant addition to your yard. This project is a good one for the inexperienced DIYer because no power tools are required. If you’ve never tiled a project before, this is a great way to hone your skills. Who knows, your next project could be a DIY backsplash in your kitchen or bathroom!
This project is from Centsational Style, and the results are sensational (pun intended). You can find the full instructions on their website and complete this in one day! Here are the supplies you’ll need:
- Wooden planter box
- Thinset mortar
- Mosaic tile
- Grout
- Sponge brush for the stain
- Large sponge to rinse off the grout
- Wide plastic putty knife
- Painter’s tape
[Related: Biophilic Design and Ceramic Tile]
7. Tiled Bookshelf
This project is suitable for all kinds of tile, but smaller tile gives the look a bit more visual interest. You can revamp an otherwise dull bookshelf at the same time that you’re putting your favorite tile to use. We recommend that you choose a bookcase with removable shelves because fewer tiles will need cutting. Don’t worry if your shelves don’t come out, you can still do this project, but it will require a little more time and precision.
The instructions for the bookcase use mosaic tile with a mesh backing, but you can adapt the project for use with individual tiles. Other than the bookshelf and the tiles, you will need the following:
- Tile adhesive
- Grout
- Plastic putty knife
- Trowel
If you are also painting your bookcase, make sure to paint before you tile (it will be easier than painting around the tile) but mostly avoid painting the areas being tiled. If your bookcase is already painted, check the adhesive to make sure it works over paint.
[Related: Using Ceramic Tile in Your Home Office]
8. Rejuvenated Table
Tiling the top of an old table with leftover tile is another good project to kill two birds with one stone. You get to use up the leftover tile and you get a new table out of the deal! It’s a win-win situation.
Here is a list of supplies you’ll need, other than the table and tiles:
- Tile adhesive
- Notched trowel
- Rubber float
- Grout
- Grout sponge
- Tile cutters
- A bucket
- Water
- Plastic gloves
- Goggles
If the table is a dining table, a coffee table, or one you will be putting food and drinks on, you’ll also want to use a grout sealer or self-sealing grout. These instructions detail how to tile a small table top, but will work for tables of all sizes.
[Related: Heartfelt Valentine’s Day Crafts We Love]
9. Ceramic Tile House Numbers
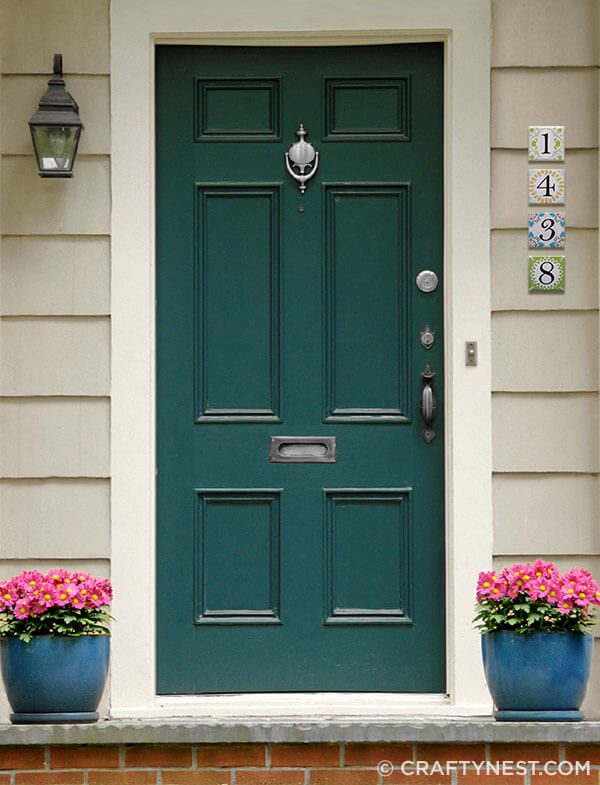
What better way of making your home’s front entrance stand out than creating unique ceramic tile house numbers? This project is incredibly simple, and only requires a few white tiles of the same size (4-inch tiles are recommended). To make things even easier, Crafty Nest provides a number of free downloadable designs, so you can choose the style that best suits your home’s facade (or choose a different style for each season!). You may even want to take your craft a step further and put the tiles in a bracket, so you can secure them in place.
For a full project description and instructions, visit Crafty Nest’s site.
[Related: Five Ways to Make Your Home Remodel Pay Off]
10. Tiled Cabinet Door
No lie, this is our favorite of all ten projects. The instructions are as basic as it comes: Take about a sheet and a half of mosaic tile on backing, trim to your cabinet size, and secure. This project gives your cabinetry a custom look without even grouting!
Consider tiling just a couple cabinets for a feature that will stand out from the rest of your cabinetry. We love how this project coordinated the color of the mosaic tile with the color of the cabinet. Wouldn’t this be a lovely way to dress up a medicine cabinet in the bathroom?
We could go on and on with fun, beautiful projects, so check back for blogs that will feature making family games from tile and small home projects that help you break the cookie-cutter mold! We hope you have found a project or two in this collection for using your excess tiles (or have decided to make a quick trip to the store), and perhaps we’ve even inspired you to try out some of your own ideas. With the beauty and versatility of ceramic tile, your options are endless!